Common Mistakes to Avoid When Installing a Door Seal
- By Xeno
- 0 Comments
- Posted on
A well-installed door seal is essential for keeping drafts, pests, and noise out of your home while improving energy efficiency. However, even a small error during installation can compromise its effectiveness. Whether you’re a DIY enthusiast or a first-timer, here’s a guide to the most common mistakes people make when installing door seals—and how to avoid them.
1. Choosing the Wrong Type of Seal
The Mistake: Not all door seals are created equal. Using the wrong type for your door (e.g., exterior vs. interior) or climate can lead to poor performance.
Why It Matters:
- Exterior doors need heavy-duty weatherstripping to withstand temperature changes and moisture.
- Interior doors may only require basic seals for noise reduction or airflow control.
- Climate matters: Humid areas need mold-resistant materials, while colder regions require seals that won’t crack in freezing temps.
How to Fix It:
- Research your door type (wood, metal, sliding, etc.) and its needs.
- Opt for silicone or rubber seals for exterior doors—they’re durable and weather-resistant.
- For garage doors, choose a thick, flexible seal designed to handle frequent movement.
2. Skipping Proper Measurement
The Mistake: Guessing the length of the seal or failing to account for gaps.
Why It Matters: A seal that’s too short leaves gaps; one that’s too long bunches up, creating uneven pressure points.
How to Fix It:
- Measure the door frame’s perimeter twice before cutting the seal.
- Add 1-2 extra inches to account for corners or trimming.
- Use a flexible tape measure for accuracy, especially on uneven surfaces.
3. Ignoring Surface Preparation
The Mistake: Installing a seal on a dirty, uneven, or damaged surface.
Why It Matters: Dust, old adhesive residue, or peeling paint prevents the seal from adhering properly. Over time, it will loosen or fall off.
How to Fix It:
- Clean the door frame with soapy water and let it dry completely.
- Sand down rough spots or peeling paint.
- For adhesive-backed seals, wipe the area with rubbing alcohol to remove grease.
4. Improper Installation Techniques
The Mistake: Rushing the process or using the wrong method. Common errors include:
- Stretching the seal too tightly (causing it to shrink or tear later).
- Leaving gaps at corners.
- Failing to secure screws or nails properly.
Why It Matters: A poorly installed seal won’t create an airtight barrier, defeating its purpose.
How to Fix It:
- For adhesive seals:
- Peel the backing slowly as you press the seal into place.
- Use a hairdryer to warm the adhesive for better stickiness in cold weather.
- For nailed/screwed seals:
- Pre-drill holes to avoid splitting the material.
- Space fasteners evenly (every 6-8 inches).
- Work in small sections, smoothing the seal as you go.
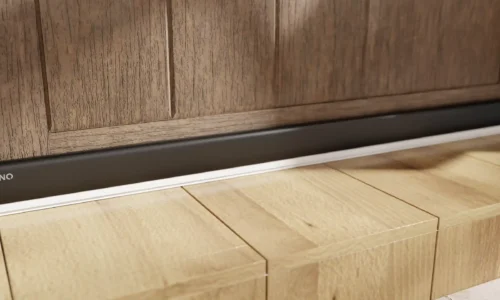
5. Overlooking the Door Sweep
The Mistake: Focusing only on the sides and top of the door while neglecting the bottom gap.
Why It Matters: The gap under the door is a prime entry point for drafts, insects, and debris.
How to Fix It:
- Install a door sweep or automatic threshold seal.
- Ensure the sweep brushes the floor lightly without scraping (trim if needed).
- For uneven floors, use an adjustable sweep.
6. Not Testing the Seal Post-Installation
The Mistake: Assuming the job is done without checking for leaks.
Why It Matters: Even tiny gaps can let in air, water, or pests.
How to Fix It:
- Close the door and inspect for visible gaps using a flashlight.
- Perform the “dollar bill test”: Shut the door on a dollar bill—if it slides out easily, the seal isn’t tight enough.
- Listen for whistling sounds on windy days.
7. Using Low-Quality Materials
The Mistake: Buying the cheapest seal to save money.
Why It Matters: Cheap foam or vinyl seals degrade quickly, requiring frequent replacements.
How to Fix It:
- Invest in high-quality materials like thermoplastic rubber (TPE) or silicone.
- Look for UV-resistant options for exterior doors.
- Read reviews to find durable, long-lasting brands.
8. Forgetting About Maintenance
The Mistake: Assuming door seals are “set and forget.”
Why It Matters: Seals can wear out, collect dirt, or lose flexibility over time.
How to Fix It:
- Clean seals annually with mild soap and water.
- Check for cracks, peeling, or stiffness, especially before winter.
- Replace damaged sections promptly to maintain efficiency.
Final Tips for Success
- Work in moderate temperatures: Extreme heat or cold can affect adhesive performance.
- Don’t rush drying time: Let adhesive cure for 24 hours before testing the seal.
- Watch alignment: Ensure the door closes smoothly without pushing against the seal.