Step-by-Step Guide to Installing a Digital Door Lock on Your Main Door
- By Xeno
- 0 Comments
- Posted on
A digital door lock enhances security and convenience by eliminating the need for traditional keys. Whether you’re upgrading from a manual lock or installing a new one, the process requires careful measurement, proper alignment, and secure installation. This guide will walk you through each step to ensure a smooth and successful installation.
Step 1: Choose the Right Digital Door Lock
Before installation, ensure that the digital door lock you’ve chosen is compatible with your door type. Consider factors such as:
- Door thickness – Most digital locks fit doors between 35mm to 60mm
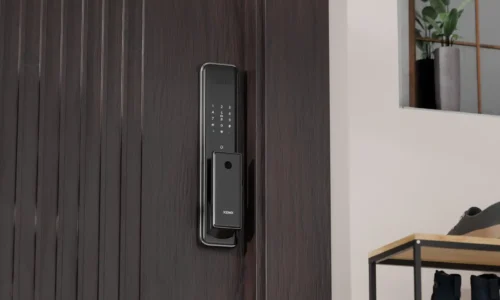
- Lock type – Decide between mortise locks, rim locks, or deadbolt locks based on your security needs.
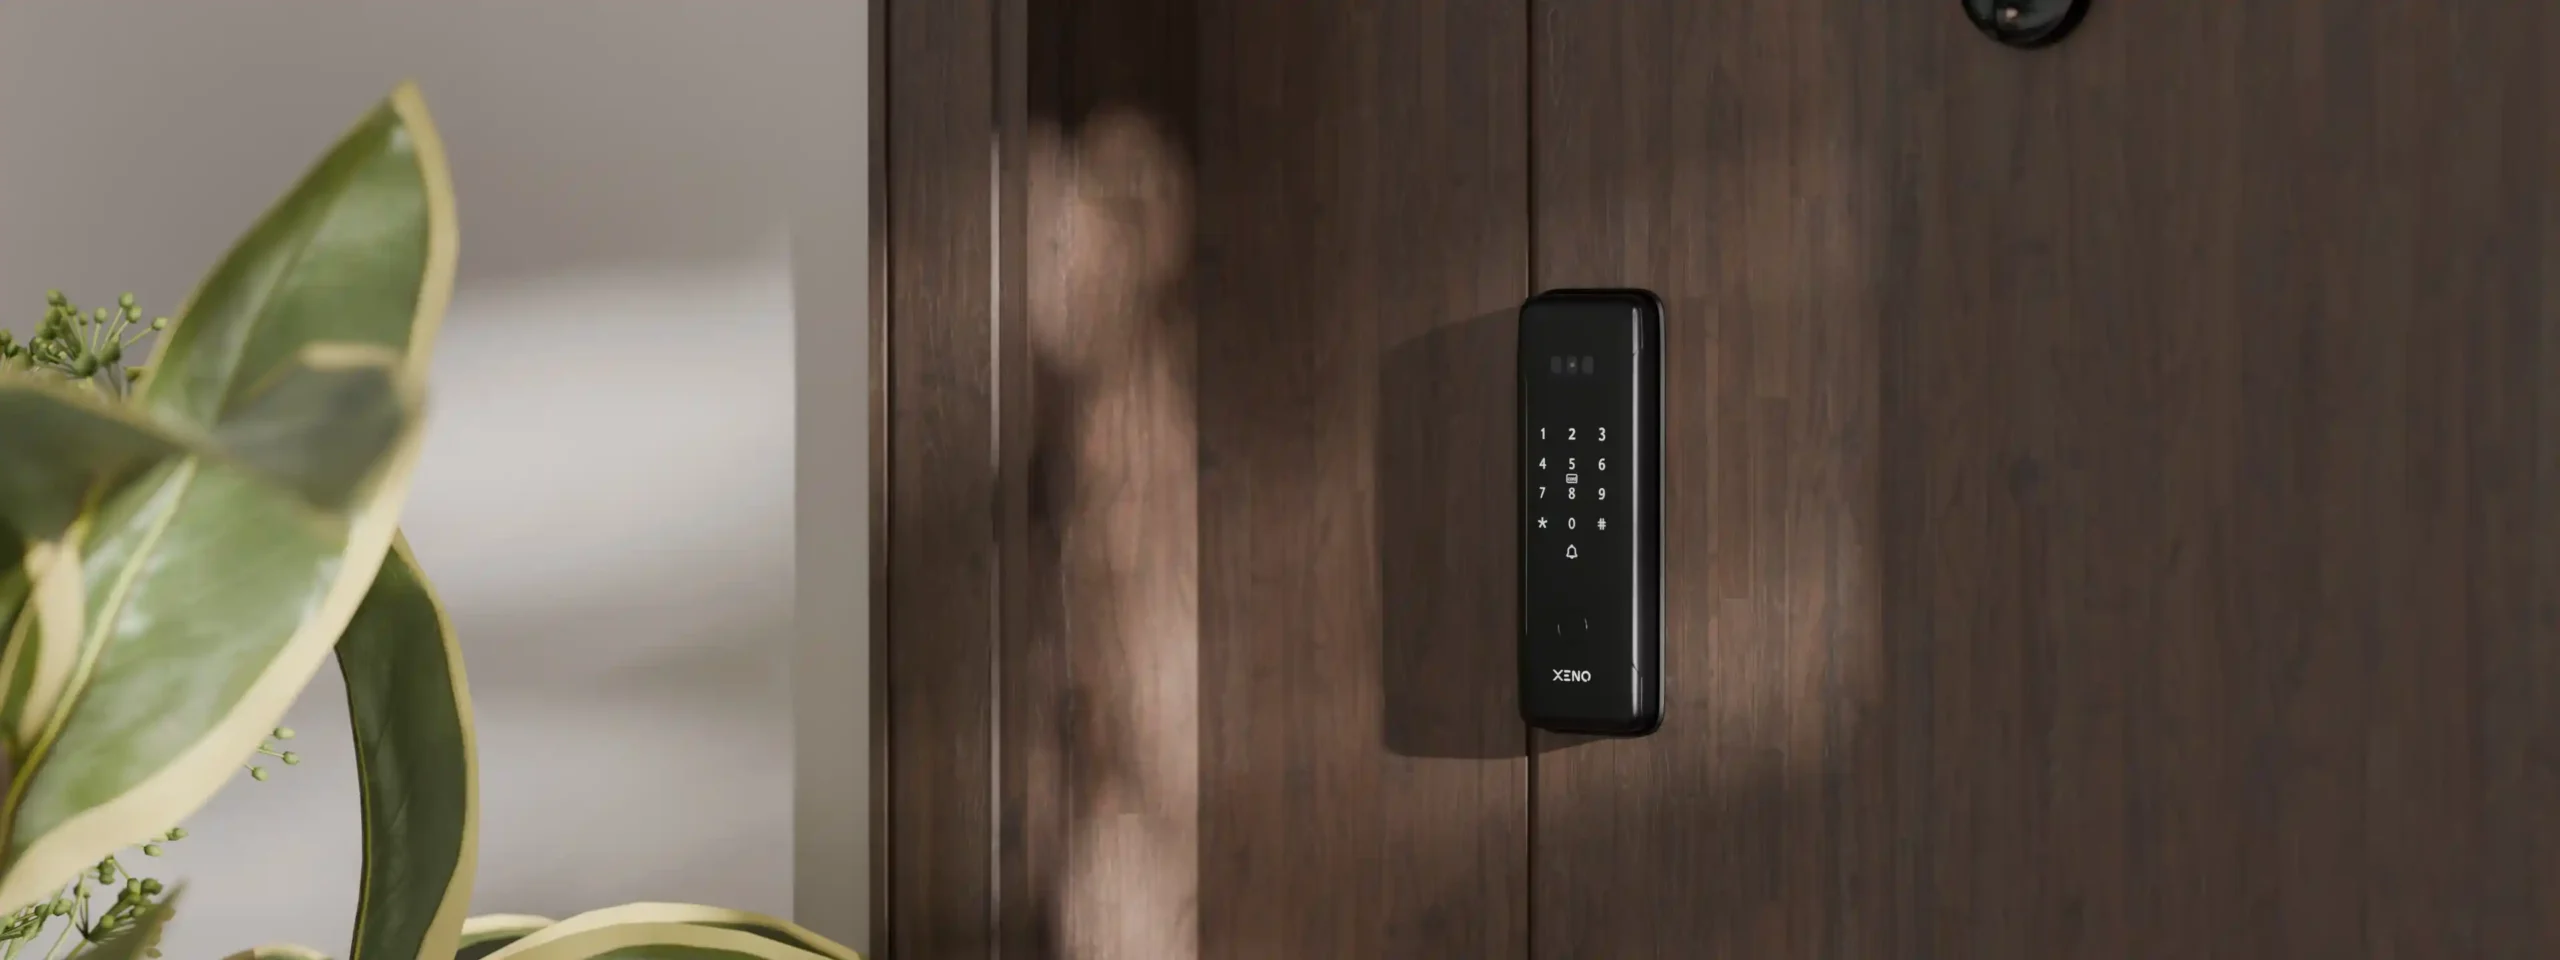
- Access methods – Choose from fingerprint, passcode, RFID card, face recognition, or mobile app control.
- Power source – Digital locks run on batteries, so check if your lock requires AA batteries or a built-in rechargeable battery.
Step 2: Gather Your Tools
For installation, you’ll need the following tools:
- Screwdriver (Phillips and flathead)
- Measuring tape
- Drill with drill bits
- Chisel and hammer (for mortise locks)
- Pencil or marker for marking drill points
Most digital door locks come with an installation template, making it easier to position and drill correctly.
Step 3: Remove the Existing Lock
If your door already has a lock installed, you’ll need to remove it first:
- Unscrew and detach the doorknob or handle.
- Remove the latch mechanism by unscrewing the strike plate from the door edge.
- Clean the surface to ensure the new lock sits securely in place.
If you’re installing on a new door, skip this step and proceed with measuring and drilling.
Step 4: Measure and Mark the Drill Points
- Use the installation template provided by the manufacturer to mark where to drill holes for the lock.
- Ensure proper alignment with your door’s existing cutouts (if any).
- Mark the positions for the handle, keypad, and latch mechanism using a pencil.
Pro tip: Align the keypad height at a comfortable level (usually 100 to 120 cm from the floor).
Step 5: Drill Holes for the Lock and Screws
- Drill the main hole (for the keypad or handle) at the marked position.
- Drill a side hole on the door edge for the latch or mortise mechanism.
- Drill screw holes for securing the lock in place.
If installing a mortise lock, you may need to chisel a slot into the door to fit the lock body properly.
Step 6: Install the Digital Lock Components
For Rim Locks and Deadbolts:
- Insert the latch or bolt into the drilled hole on the door edge.
- Secure it with screws and check if it moves smoothly.
- Attach the front panel (keypad or fingerprint scanner) on the outside of the door.
- Connect the internal mechanism on the inside of the door.
- Fasten everything securely with the provided screws.
For Mortise Locks:
- Insert the mortise body into the slot on the door edge.
- Attach the front panel, ensuring the wiring is properly positioned.
- Connect the rear panel and tighten all screws.
- Install the handle or lever as instructed in the manual.
Pro tip: If the lock has a cable connection, ensure it is securely attached before closing the panels.
Step 7: Install Batteries and Set Up the Lock
- Insert the required batteries (usually AA or rechargeable lithium batteries).
- Turn on the lock and follow the manufacturer’s instructions for initial setup.
- Set a master PIN code and register fingerprints, RFID cards, or mobile app access.
Step 8: Test the Lock
Before finalizing the installation, test all access methods to ensure the lock is functioning properly:
- Enter the passcode to check if the lock opens.
- Scan a fingerprint or RFID card if applicable.
- Try using the manual key override in case of emergency.
- Close the door and ensure the locking mechanism engages smoothly.
Step 9: Secure the Strike Plate and Final Adjustments
- Align the strike plate on the door frame with the latch or bolt.
- Drill pilot holes and screw the strike plate securely in place.
- Check if the door closes smoothly and locks properly.
Pro tip: If the lock doesn’t close correctly, adjust the strike plate position slightly.
Step 10: Connect to Smart Features (Optional)
If your digital door lock has Wi-Fi or Bluetooth connectivity, set up the smart functions:
- Download the manufacturer’s mobile app.
- Pair the lock with your smartphone.
- Enable features like remote unlocking, access logs, and guest passcodes.
- Configure auto-lock and tamper alerts for added security.