⚡ SAVE BIG on Xeno Digital Locks | Limited Stocks – Shop Now! | 🔒 Save $50 on Xeno X Gate Lock – Code X50 |
🚪 Save $15 on Door Bottom Seal – Code SEAL15 |
🛡️ Save $50 on Alexi Pro Lock – Code PRO50| FREE Mailbox Lock + Installation + Delivery Included in Every Xeno Bundle Deal |
⚡ MAY LAUNDRY DEALS LIVE — Save $50 on Essential– Code XENO50 | Save $100 on Platinum– Code XENO100

Step-by-Step Guide to Installing a Digital Door Viewer in Your Home
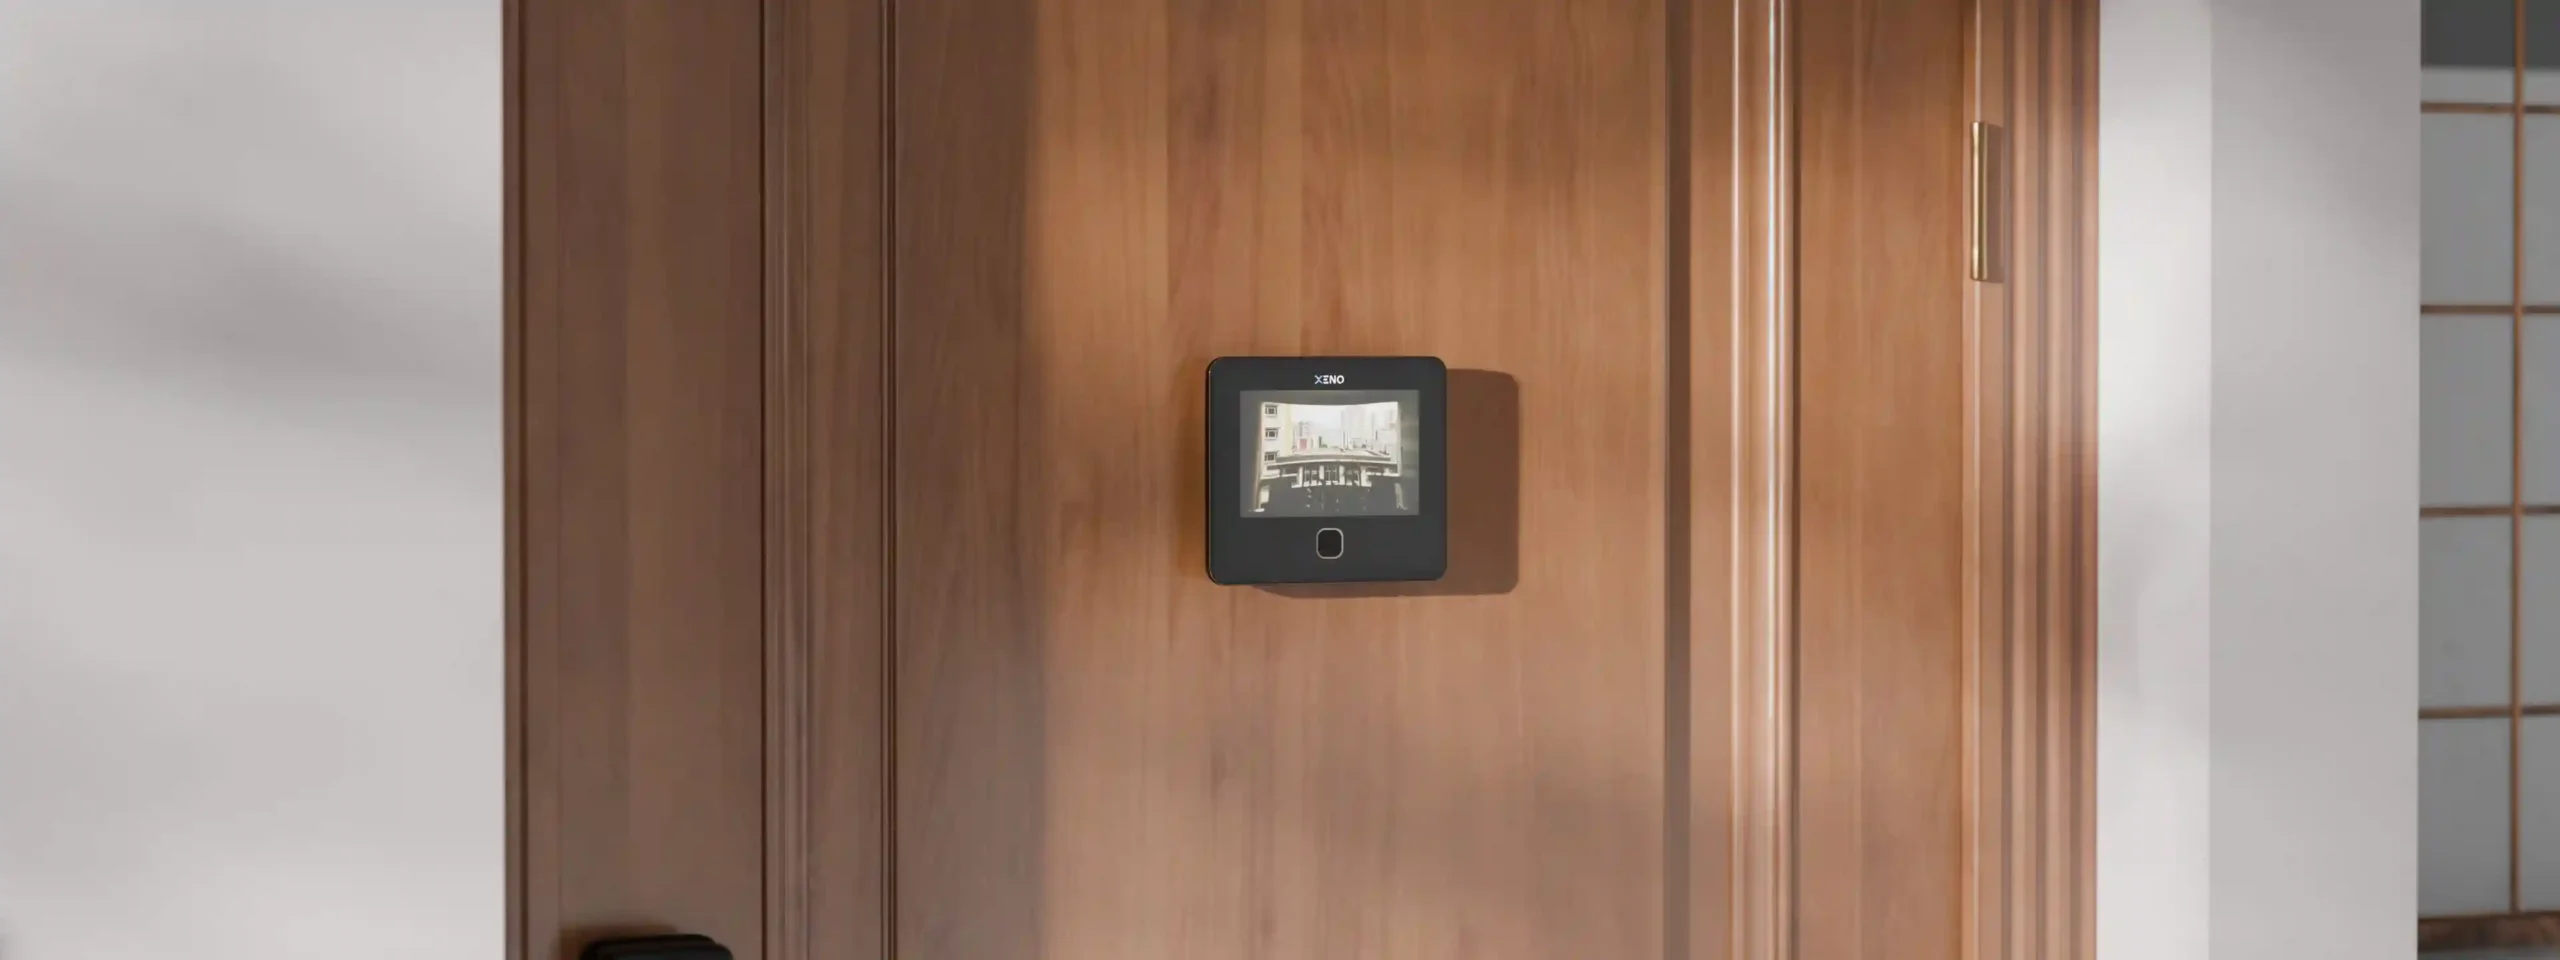
A digital door viewer is an excellent upgrade for home security, providing a clear and wide-angle view of who is at your door without needing to open it. Unlike traditional peepholes, digital door viewers offer enhanced visibility, recording functions, and even night vision, making them ideal for modern homes in Singapore.
If you’re planning to install a digital door viewer yourself, this guide will walk you through the entire process step by step.
What You Need Before You Start
Before beginning the installation, gather the necessary tools and materials:
- Digital Door Viewer Kit – Includes the screen unit, camera lens, and mounting accessories.
- Measuring Tape – To check the peephole size and door thickness.
- Drill (if required) – Only needed if there is no existing peephole.
- Screwdriver – To secure the device.
- Batteries or Power Source – Based on your viewer’s power requirement.
Step 1: Check Your Door Compatibility
Not all digital door viewers fit every door. Before purchasing or installing, confirm:
- Door Thickness – Most digital door viewers fit doors between 35mm to 110mm thick.
- Existing Peephole Size – The standard peephole diameter is 14mm to 22mm. If you don’t have one, you’ll need to drill a hole.
- Power Source – Check if the viewer runs on batteries or requires a wired connection.
Step 2: Remove the Old Peephole (If Applicable)
If your door already has a traditional peephole:
- Loosen the peephole lens from the inside using pliers or a screwdriver.
- Gently push it outward to remove it.
- Clean the hole to remove dust or debris.
If your door doesn’t have a peephole, proceed to the next step.
Step 3: Drill a New Peephole (If Needed)
For doors without a peephole:
- Mark the Center – Use a pencil to mark the correct position at eye level (usually around 145-160cm from the ground).
- Drill a Hole – Use a drill with a 14mm to 22mm bit to create a clean opening.
- Smooth the Edges – Remove splinters or rough edges with sandpaper.
Step 4: Insert the Digital Viewer’s Camera Lens
- Take the camera unit (external part) of the digital door viewer.
- Insert it through the peephole from outside the door.
- Align the lens properly so it fits securely.
Note: Ensure that the camera is facing outward and is positioned correctly to capture a clear view.
Step 5: Connect the Interior Display Screen
- From the inside of the door, take the display unit (LCD screen).
- Connect it to the camera lens using the provided connector cable.
- Secure the screen to the door using mounting screws or adhesive (as per your model’s instructions).
Step 6: Power Up the Digital Door Viewer
Depending on the model, your digital door viewer will either be:
- Battery-Powered – Insert AA or rechargeable batteries as required.
- Wired Power Supply – Connect the viewer to a nearby power outlet or doorbell system.
Once powered, turn it on to check if the screen and camera function properly.
Step 7: Test the Viewer and Adjust Settings
After installation, do a few checks:
- Press the power button – The screen should turn on and display the view outside.
- Check the camera angle – Ensure a clear and wide field of view.
- Test the recording function (if available) – Verify that it captures and stores images/videos.
- Adjust brightness and settings as per your preference.
Some advanced digital door viewers also support motion detection, night vision, and smartphone connectivity. If yours does, configure these features accordingly.
Final Tips for a Secure and Long-Lasting Installation
- Secure the Cables – If your device has wires, ensure they are neatly placed to avoid damage.
- Use High-Quality Batteries – For battery-operated models, recharge or replace them regularly to keep the device working.
- Regular Cleaning – Wipe the camera lens and screen occasionally to maintain clear visibility.
- Enable Security Features – If your device has PIN access or app connectivity, enable it for added security.