🌟 Celebrate Hari Raya with Smarter Security 🔥 | FREE Letter Box Lock Included in Every Xeno Bundle Deal | Order Now Before Raya |
🔒 Save $50 on Xeno X Gate Lock – Code X50 |
🚪 Save $15 on Door Bottom Seal – Code SEAL15 |
🛡️ Save $50 on Alexi Pro Lock – Code PRO50

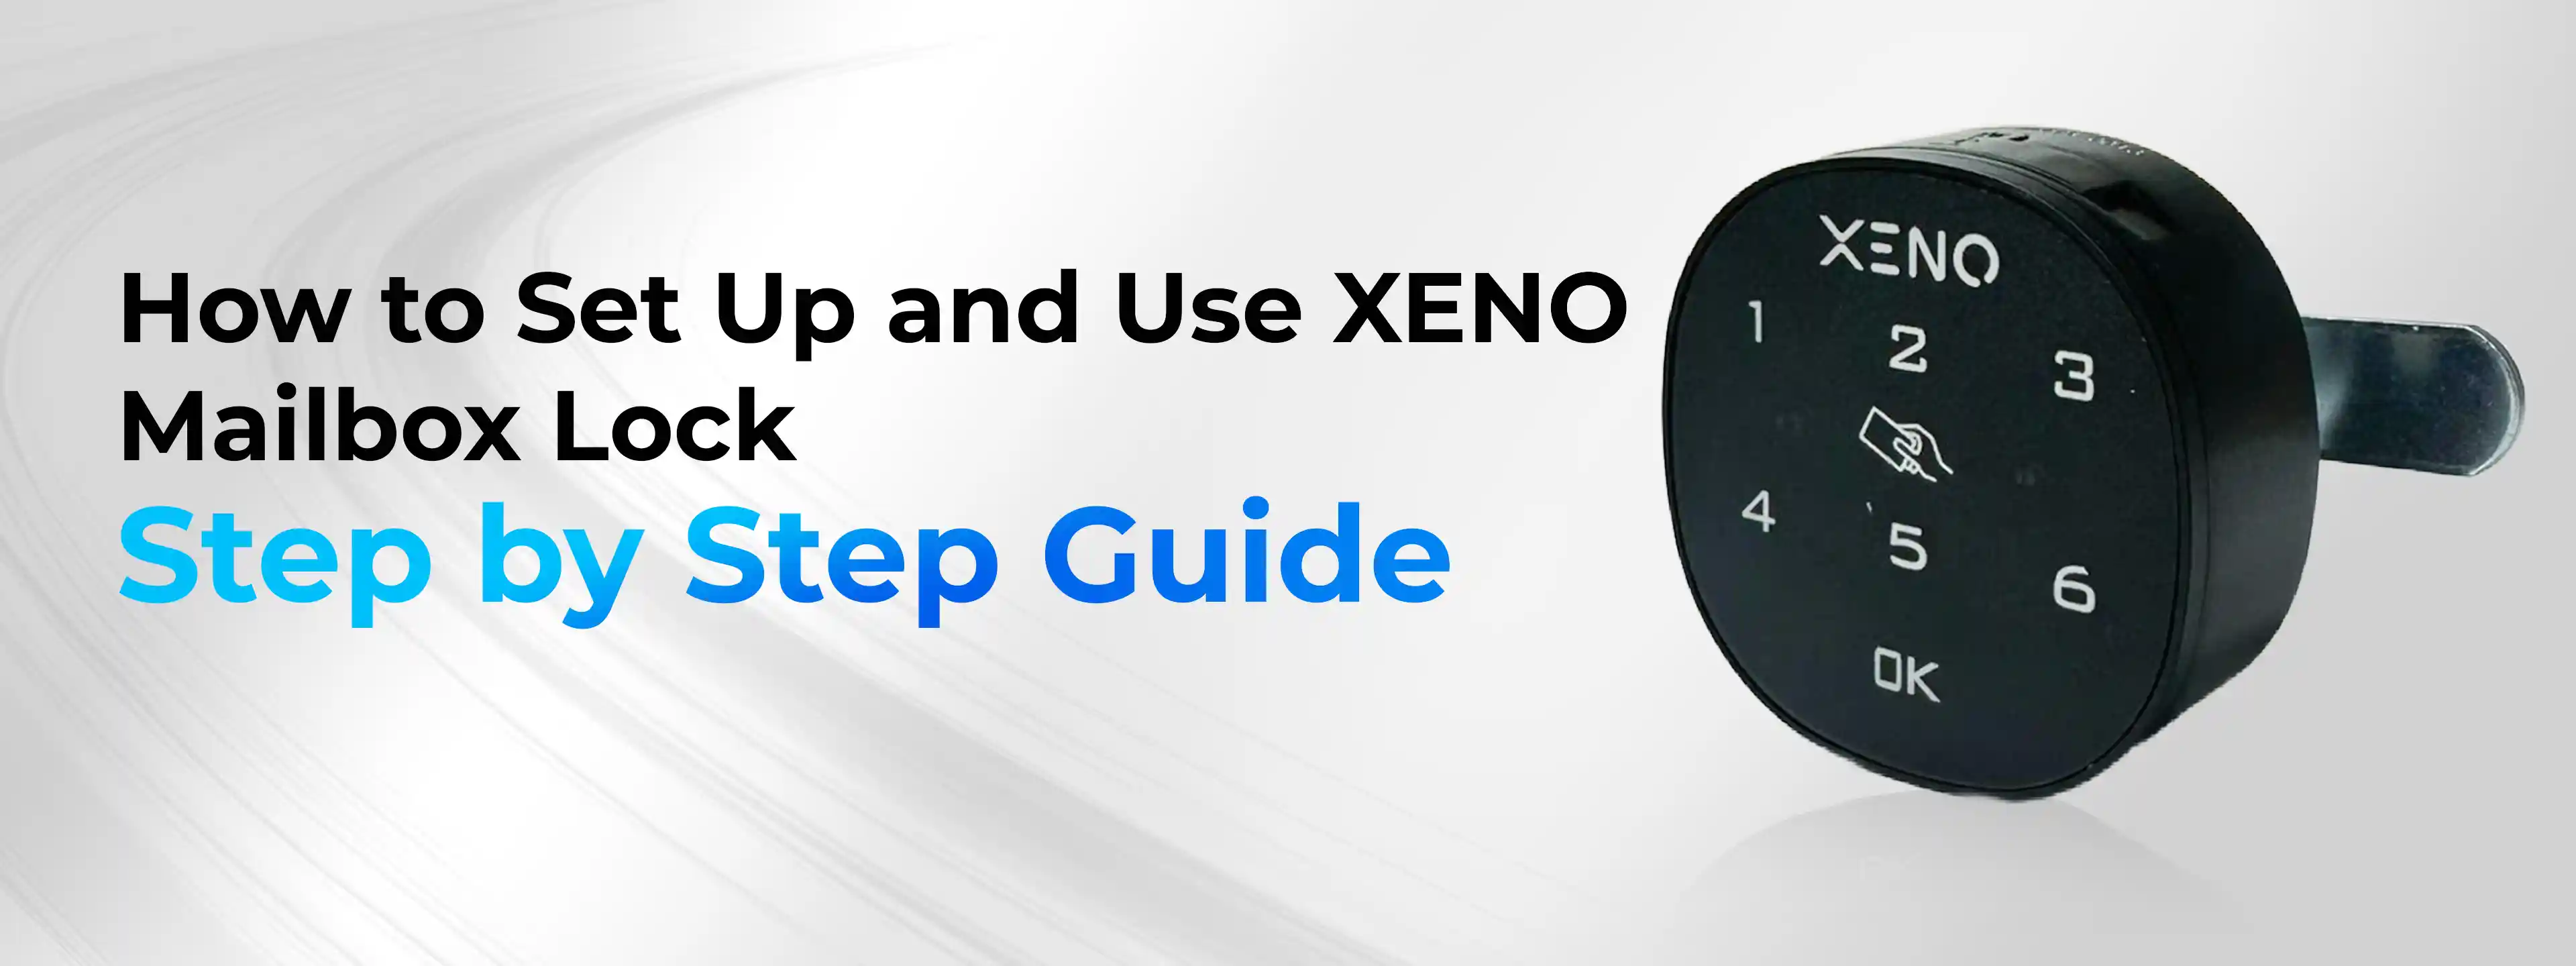
Complete Setup and Usage Guide for XENO Mailbox Lock/ letter box lock
A Simple, Step-by-Step Guide for Secure and Hassle-Free Use
Securing your mailbox is just as important as securing your front door. The XENO Mailbox Lock is designed to offer reliable protection with password and card access, making it suitable for both private homes and shared environments.
This guide explains everything you need to know—from factory settings to advanced features—so you can confidently set up and use your XENO Mailbox Digital Lock the right way.
Understanding the Factory Settings
When you first install the XENO Mailbox Lock, it comes with default factory credentials to help you get started quickly.
- Default User Password: 1234
- Default Administrator Password: 4321
- Default Mode: Private Mode
- Card Status: No cards are pre-added
This means any card will not unlock the mailbox unless it has been manually registered.
Important Password Rules
- Password length must be 4 to 15 digits
- Administrator and user passwords cannot be the same
- Each time the lock is unlocked using the administrator password, the user password automatically resets to 1234
🔒 Security Reminder:For safety reasons, always change both the administrator and user passwords immediately after installation.
Unlocking Modes Explained: Private vs Public
The XENO Mailbox Lock operates in two different modes, depending on how the mailbox is used.
Private Mode (Default & Recommended)
Private Mode is ideal for individual or household use. It allows:
- Administrator password access
- One management card
- Multiple regular user cards
⚠️ It is not recommended to switch modes unnecessarily, as changing modes can delete existing settings.
Private Mode: Setup and Card Management
How to Change the Administrator or User Password
Changing the default password is the first and most important step.
- Enter the current administrator password
→ 4321 + OK - Press and hold the OK button for more than 2 seconds
→ The green light starts flashing - Enter the new password
→ Example: 2536 + OK - A long beep confirms the password has been changed successfully
How to Add a Management Card
(Maximum: One management card)
The management card is required for adding or removing user cards.
- Enter the administrator password and press OK
- Press and hold OK for more than 2 seconds
→ Green light flashes - Hold the management card close to the card reader
- A long beep confirms successful setup
- Press OK to exit
How to Add a Regular User Card
(Requires a management card)
- Scan the registered management card twice
→ Green light flashes - Place the user card near the reader
- A long beep confirms the user card has been added
- Press OK to finish
How to Delete a Single User Card
- Scan the management card three times
→ Red light flashes - Place the user card you want to delete near the reader
- A long beep confirms deletion
Note: Management cards cannot be deleted individually.
How to Delete All Cards at Once
- Scan the management card five times
- Two beeps confirm that all cards have been deleted
- Press OK to exit
Public Mode (Shared Mode): What You Should Know
Public Mode is designed for shared or public use.
In this mode:
- Only management cards are allowed
- User cards are disabled
- All cards added in Private Mode will be deleted
How to Activate Public Mode
- Enter the administrator password and press OK
→ Long beep, green light stays on - Press and hold OK for more than 2 seconds
→ Green light flashes - Press OK, then enter
→ 44 + OK - A long beep confirms Public Mode is activated
How to Disable Public Mode (Return to Private Mode)
- Enter the administrator password and press OK
- Press and hold OK for more than 2 seconds
- Press OK, then enter
→ 43 + OK - A long beep confirms Private Mode is restored
Temporary Access Features (Public Mode Only)
Temporary access is ideal for one-time use, such as courier access or short-term sharing.
Setting a Temporary Password
- Press OK once
→ Green light flashes - Enter a 4–15 digit temporary password
- Press OK to confirm
The temporary password is valid for one unlock only.
Using a Temporary Card
Add a Temporary Card
- Place an unused blank card near the reader
- A long beep confirms the card has been set as temporary
Unlock with a Temporary Card
- Scan the temporary card
- The lock opens and the card is automatically deactivated
Temporary Access Indicator
- When a temporary password or card is active:
- The green light flashes once every 3 seconds
- This status remains even after a power outage
- Temporary access expires automatically after one successful unlock
Both the administrator password and management card can clear temporary access and unlock the mailbox at any time.
Final Notes for Secure Usage
The XENO Mailbox Lock/ letter box Digital lock is built to provide strong security with flexible access control. To get the best experience:
- Always change default passwords immediately
- Keep the management card secure
- Avoid switching modes unless necessary
- Use temporary access for one-time entry only
With the correct setup, your XENO Mailbox Lock/ letter box lock ensures your mail stays protected, accessible only to the right people.
Set Up Your Xeno Mailbox Lock Easily Yourself
Step-by-Step Guide to Installing Your Xeno Mailbox Lock
FAQ
1. Can any card unlock the mailbox?
No. Cards are not pre-added at the factory. Only cards that you manually register as management or user cards can unlock the mailbox.
2. What is a temporary password or temporary card used for?
Temporary access is meant for one-time use, such as allowing a courier or guest to open the mailbox once. After it is used, it automatically expires and cannot be reused.
3. Will my settings be lost if there is a power failure?
No. All passwords, cards, and temporary access settings are saved even after a power outage. Once power returns, the lock continues working normally.
4. What is the difference between Private Mode and Public Mode?
Private Mode: Allows management cards and user cards. Best for home use.
Public Mode: Allows only management cards. User cards are disabled.
Private Mode is the default and recommended setting.